In this post, we’ll walk you through what to expect from a high-volume scanning project and how to prepare so you avoid common bottlenecks and delays.
Whether you’re a growing business with decades of paper records or a government agency aiming to modernize operations, tackling a high-volume document scanning project can feel overwhelming.
But with the right planning, tools, and partner, it doesn’t have to be.
Bulk scanning isn’t just about feeding paper into a machine, it’s a strategic process that involves inventory review, indexing rules, secure handling, and long-term digital storage. Done right, it can improve compliance, reduce retrieval times, and free up valuable office space.
Why Businesses Choose High-Volume Scanning
Many organizations begin scanning as part of:
- A digital transformation initiative
- Office downsizing or relocation
- Compliance with record retention laws
- Improved access to legacy documents
- Risk reduction (e.g., from water/fire damage or data breaches)
High-volume scanning is ideal when you need to digitize:
- Decades of archived files
- Entire file rooms or storage closets
- Backfile scanning for ongoing departments (e.g., HR, legal, finance)
- Medical, legal, or government records
What to Expect from a High-Volume Scanning Project
1. Initial Assessment & Project Scope
Your scanning provider will typically begin with a discovery call or on-site evaluation to:
- Review the number of boxes, cabinets, or linear feet of documents
- Understand your indexing and naming needs
- Identify sensitive or fragile materials
- Set expectations for turnaround time and project milestones
This is when you’ll define file types, retention policies, and security protocols—critical for success.
2. Document Pickup or On-Site Setup
Depending on your preference, your documents can be:
- Picked up and transported in secure, GPS-tracked vehicles
- Scanned on-site if records cannot legally or logistically leave your location
Chain-of-custody documentation is crucial at this stage for compliance, especially for HIPAA, legal, or financial records.
3. Document Preparation
Before scanning, all documents must be prepped. This includes:
- Removing staples, paper clips, sticky notes, and bindings
- Straightening pages and unfolding corners
- Organizing files into logical groupings (by name, date, client, etc.)
- Flagging fragile or specialty documents (e.g., blueprints, carbon copies)
Prepping is often the most time-consuming part, but it’s essential for high-quality scans.
4. Scanning and Quality Control
Using high-speed scanners, pages are scanned in:
- Black & white, grayscale, or color
- Resolution typically ranging from 200–600 DPI
- Formats like PDF, TIFF, or searchable PDF (via OCR)
Each batch is reviewed to ensure:
- No missed pages or misfeeds
- Proper file grouping and order
- Clear image quality and orientation
5. Indexing and Metadata Tagging
After scanning, digital files are named and categorized based on your chosen indexing fields, such as:
- Client name or account number
- Invoice or case number
- Date range
- Department or document type
This ensures your new digital archive is searchable, sortable, and user-friendly.
6. Secure File Delivery and Storage
Once files are scanned and indexed, they’re delivered:
- On encrypted external drives or secure file transfer platforms
- Directly into your Document Management System or cloud storage
- With full audit logs and retention recommendations
You’ll receive full backups and documentation for security and continuity.
What’s a Document Management System? Learn more →
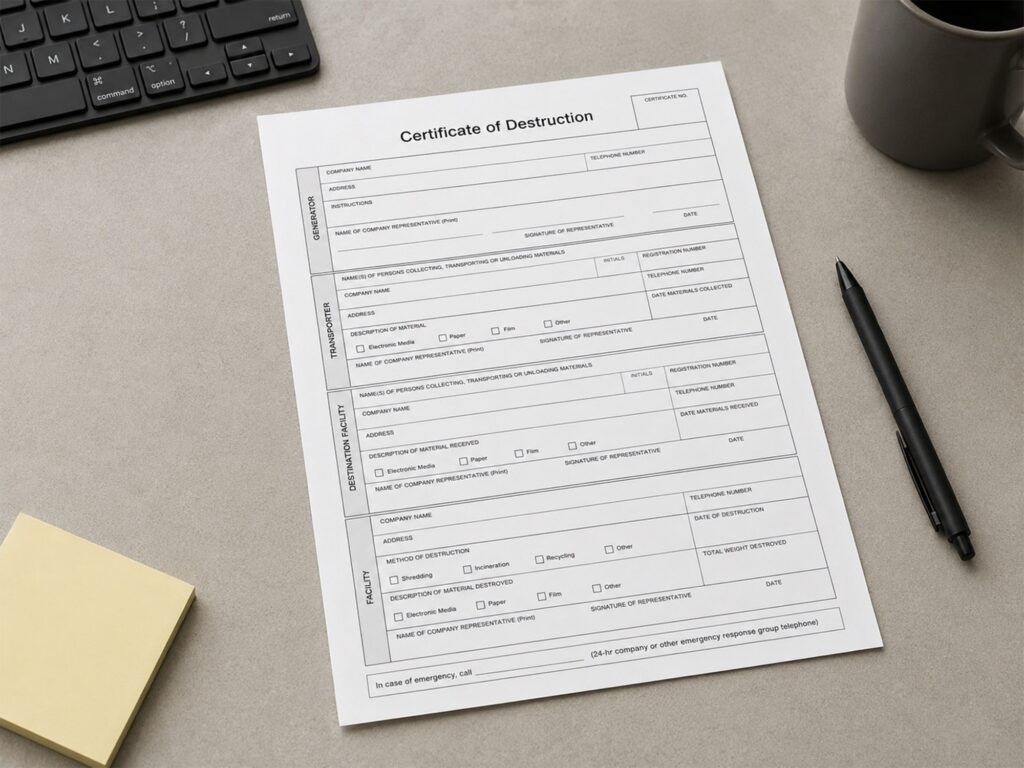
7. Optional: Secure Shredding or Return of Originals
After scanning, you can choose to:
- Shred physical files with a certified destruction provider
- Store them offsite for legal or historical purposes
- Have them returned in labeled, consolidated boxes
Explore our secure shredding options →
How to Prepare for a High-Volume Scanning Project: A Practical Checklist
To make your scanning project successful and stress-free, follow these steps:
1. Take Inventory
- Count boxes, file drawers, or storage rooms
- Identify any duplicate or non-essential records
- Flag files subject to legal holds or active use
2. Purge What You Don’t Need
- Shred outdated or duplicate documents beforehand
- Use this opportunity to reduce volume and cost
3. Define File Organization Rules
- Decide how files should be grouped, named, and sorted
- Create a folder structure that makes sense for future use
4. Assign Internal Contacts
- Choose one or two staff members to serve as liaisons
- Ensure they’re available to answer questions and approve samples
5. Plan for Access During Scanning
- Identify any critical files that may need to be accessed during the project
- Arrange temporary access or scanning of priority materials first
6. Choose the Right Partner
Look for a scanning provider with:
- Experience in high-volume projects
- Secure transport and chain-of-custody procedures
- Indexing expertise
- Integration with your DMS or file-sharing tools
- Transparent timelines and pricing
A high-volume scanning project may sound complex, but with the right preparation and trusted partner, it can be a seamless path to a more efficient, secure, and searchable document environment.
You’ll free up office space, improve compliance, and unlock instant access to the records your teams rely on, without digging through file cabinets or offsite storage.