This step-by-step guide walks you through everything you need to know to plan a scanning project, from evaluating your current records to selecting a vendor and implementing cloud-based access.
Digitizing paper records is one of the most impactful operational upgrades a business can make. Whether you’re trying to eliminate filing cabinets, support hybrid work, improve compliance, or simply gain better control over your information, a well-planned document scanning project can transform the way your organization stores, retrieves, and shares data.
But successful digitization requires more than sending boxes to a scanning vendor. It demands careful planning, clear objectives, and a structured process that ensures your files are captured accurately, indexed properly, and delivered in a format that supports your long-term document management goals.
Why Businesses Are Moving from Paper to Cloud-Based Workflows
Before diving into the steps, it’s helpful to understand why scanning projects are accelerating across industries.
1. Hybrid Work Is Now Standard
Paper-based systems slow hybrid teams down and make collaboration difficult.
2. Compliance Requirements Are Increasing
Regulations around privacy, retention, and audits require accurate, secure records management.
3. Office Space Is Expensive
Filing cabinets and storage rooms consume valuable (and costly) square footage.
4. Disaster Recovery Matters
Paper is vulnerable to fire, water, mold, and theft. Digital files can be backed up and replicated instantly.
5. Cloud Access Is Expected
Employees and customers alike expect fast, digital access to information.
Digitization solves all these challenges, but only when executed through a clear, well-managed process.
Step 1: Define Your Goals and Scope
Every scanning project begins with a clear understanding of what you want to achieve.
Ask yourself:
- Why are we scanning? (Space, compliance, accessibility, workflow efficiency?)
- Which departments are involved?
- Are we scanning all documents or only certain types?
- What is the timeline?
- What is the desired end result—PDFs, searchable text, or a full cloud DMS?
Common scanning goals include:
- Eliminating filing cabinets
- Preparing for an EMR or DMS migration
- Improving customer/patient service
- Reducing search time
- Supporting remote teams
- Meeting compliance requirements
Clearly defining your objective will help you scope the project and prevent unnecessary costs.
Step 2: Assess Your Records and Volume
Next, you’ll need to determine how much paper you have and in what condition.
Identify:
- Number of boxes
- Types of documents
- Average age of records
- Document sizes (standard, legal, large-format)
- Fragile or damaged materials
- Stapled or bound records
- Mixed media (photos, receipts, notebooks)
Rough conversion metrics:
- Banker’s box: ~2,000–2,500 pages
- File cabinet drawer: ~2,500–3,000 pages
- Linear foot: ~2,000 pages
A vendor will conduct a more detailed assessment, but knowing your approximate volume helps you budget and plan.
Step 3: Determine Your Indexing Requirements
Indexing is the backbone of a successful scanning project. It determines how your digital files will be named, structured, and accessed.
Common indexing methods:
- Client/patient name
- Account or case number
- Invoice or PO number
- Department
- Date or year
- Record type
- Retention category
Folder-level vs. document-level indexing:
- Folder-level indexing organizes entire folders as digital units—more cost-effective.
- Document-level indexing names each document individually—ideal for workflows requiring detailed access.
The more detailed the indexing, the more labor-intensive (and costly) the project—so clarity here is crucial.
Step 4: Decide Whether You Need OCR (Searchable Text)
OCR (Optical Character Recognition) converts scanned images into searchable text.
OCR benefits:
- Search by keyword or phrase
- Improve research and retrieval
- Support automated workflows
- Enable text analytics
- Make cloud-based archives far more usable
Most modern scanning projects include OCR because it significantly increases file utility.
Step 5: Establish Your Retention and Compliance Requirements
Before scanning, determine what MUST be digitized based on retention laws or business needs.
Ask:
- Are any documents past their legal retention period?
- Can certain records be securely shredded instead of scanned?
- Are there industry-specific requirements?
Industries with strict rules include:
- Healthcare (HIPAA)
- Financial services (FINRA, SEC)
- Legal (litigation holds)
- Education (FERPA)
- Government and public sector
Scanning unnecessary documents will inflate costs, so this step often reduces your budget significantly.
Step 6: Prepare Your Documents for Scanning
Document preparation affects scanning time and cost. A vendor typically handles prep work, but you may want to:
- Remove unnecessary duplicates
- Separate documents that won’t be scanned
- Organize folders for consistency
- Label boxes for clear indexing
- Identify sensitive or high-priority folders
This preparation ensures smoother workflows and fewer errors.
Step 7: Choose the Right Scanning Vendor
Selecting a qualified scanning partner is one of the most important steps.
Look for vendors that offer:
- HIPAA or SOC 2 compliance (if applicable)
- Secure chain-of-custody tracking
- High-speed, high-resolution scanners
- Experience with your industry
- Onsite and offsite scanning options
- OCR and indexing expertise
- Cloud delivery and DMS integration
- Secure shredding or storage after scanning
Questions to ask:
- What security certifications do you hold?
- How do you track boxes and folders?
- How are digital files delivered?
- What is your typical turnaround time?
- Do you provide scan-on-demand during the project?
- What’s included in your pricing?
A reliable vendor will provide clarity and guidance at every stage.
Step 8: Choose Your Digital Storage or Cloud Solution
Once scanning is complete, you need a place to store and access your files.
Options include:
- Cloud storage (Microsoft 365, Google Workspace, etc.)
- A full Document Management System (DMS)
- Secure file servers
- Hybrid cloud/on-premise setups
A DMS adds benefits such as:
- Version control
- Workflow automation
- Audit trails
- Permission-based access
- Retention management
- Remote accessibility
Choosing your storage solution upfront ensures the scanning project aligns with your long-term goals.
Step 9: Plan for Digital Delivery and Migration
Your vendor may provide:
- Encrypted hard drives
- Secure cloud uploads
- Direct ingestion into your DMS or EMR
- Database files with indexing metadata
If you are migrating to an EMR or DMS, ensure the vendor understands your system’s requirements for:
- File formats
- Folder structure
- Naming conventions
- Metadata fields
Poor planning here can create bottlenecks later.
Step 10: Implement Workflow Changes Across Your Organization
Digitizing documents is only part of the process. Your team must adopt the new workflows.
Plan to provide:
- User training
- Documentation on naming conventions
- Access controls
- Retention policies
- Cloud login instructions
- Updated standard operating procedures
Without workflow adoption, scanned files will not deliver their full ROI.
Step 11: Establish Ongoing Scanning or Day-Forward Processes
To stay paper-light or paperless, you’ll need a plan for handling incoming documents.
Day-forward strategies include:
- Scan everything received after a specific date
- Continue digitizing new documents weekly or monthly
- Use integrated scanners for real-time capture
- Pair scanning with scheduled shredding
This step prevents you from rebuilding paper backlogs.
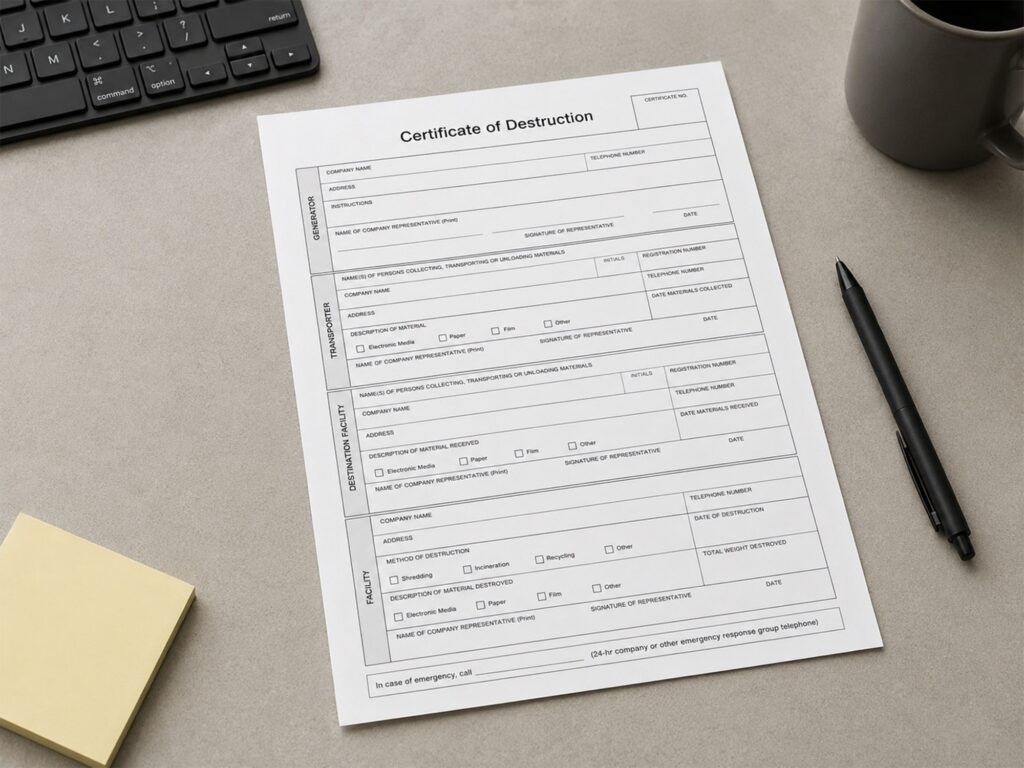
Step 12: Securely Shred or Store Physical Documents After Digitization
Once digitized, most businesses choose to:
Shred original documents
—if legally permissible.
Store physical documents offsite
—for records requiring long-term or permanent retention.
Your vendor will help you determine what must remain in physical form, based on your industry’s regulations.
Benefits of a Well-Planned Scanning Project
A thoughtful digital transformation leads to:
Operational Efficiency
Instant file retrieval and faster workflows.
Cost Savings
Less office space and fewer storage costs.
Improved Collaboration
Teams access documents anytime, from anywhere.
Better Compliance
Auditable, organized, trackable digital archives.
Disaster Recovery Readiness
Cloud backups protect you from loss or damage.
Scalability
Easier to manage large volumes of data and growth.
Moving from paper to the cloud is one of the most powerful upgrades a business can make, but the success of a scanning project depends on planning. By evaluating your record inventory, defining your goals, selecting the right indexing structure, and choosing a qualified scanning partner, you can create a digital archive that is secure, organized, and fully accessible for years to come.
Emerald Document Imaging specializes in secure, end-to-end scanning services that help businesses in NYC, Long Island, and across New York transition seamlessly from paper-heavy operations to cloud-based efficiency.
Ready to start your scanning project? Reach out today →